Snowshoeing is a fun winter activity, plus it’s good exercise! If you want to get into snowshoeing, here’s our guide on how to start. Snowshoeing is the perfect activity for those who enjoy exploring the great outdoors and call themselves “snow bunnies.” But while a snowshoeing trek will offer a picturesque glimpse of your favourite hiking trails, let’s dispel a myth: Snowshoeing isn’t just winter hiking! Before you break out those snow basket trekking poles and splurge on a pair of flat terrain snowshoes, read this guide.
What Do You Need to Go Snowshoeing?
Every exhilarating snowshoeing journey begins with the right gear. Before you head to the trails, make sure you have:
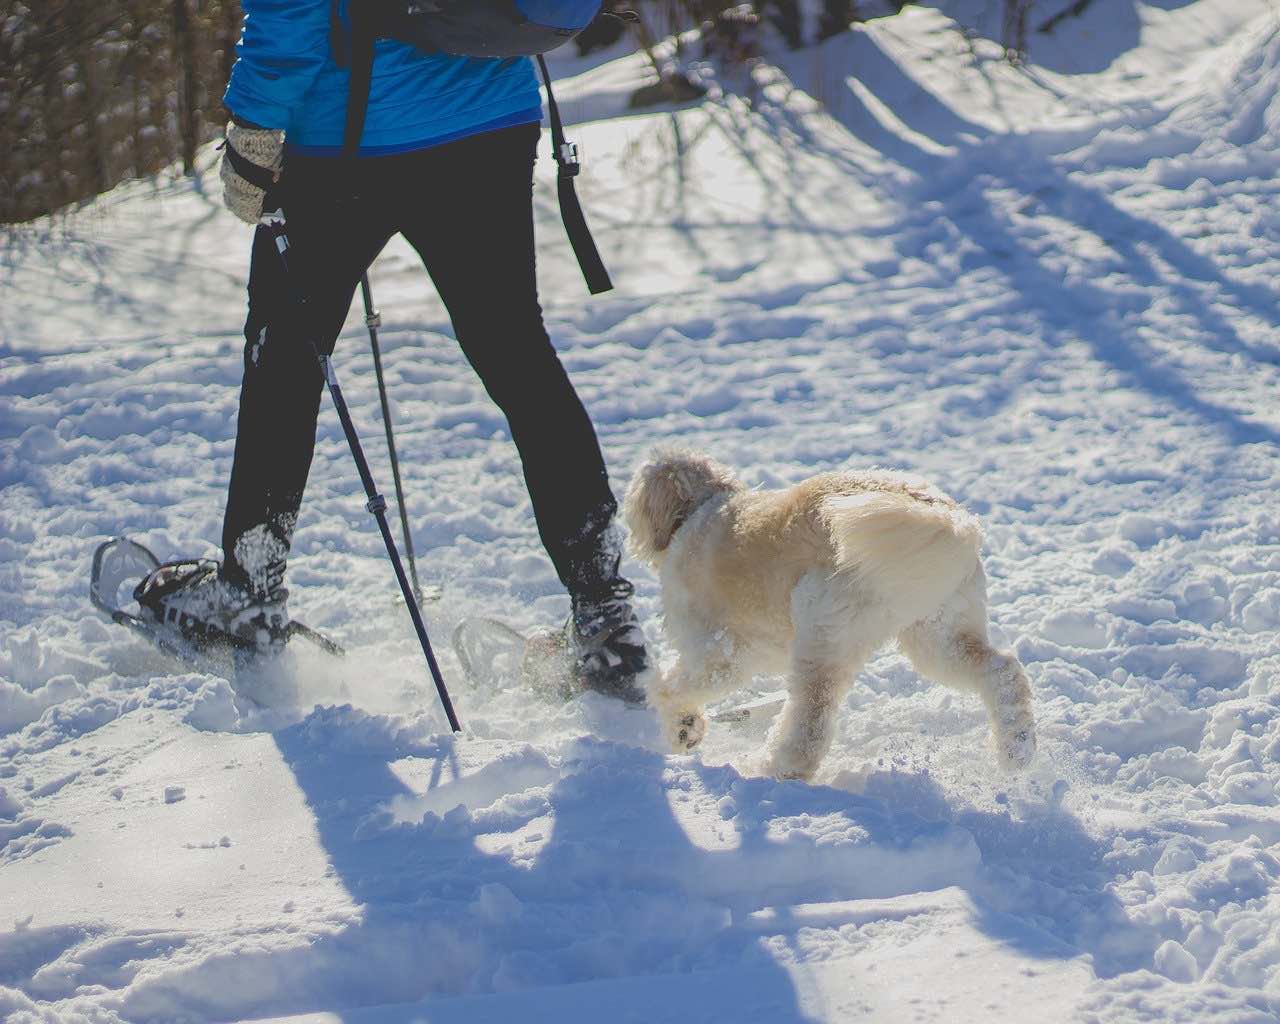
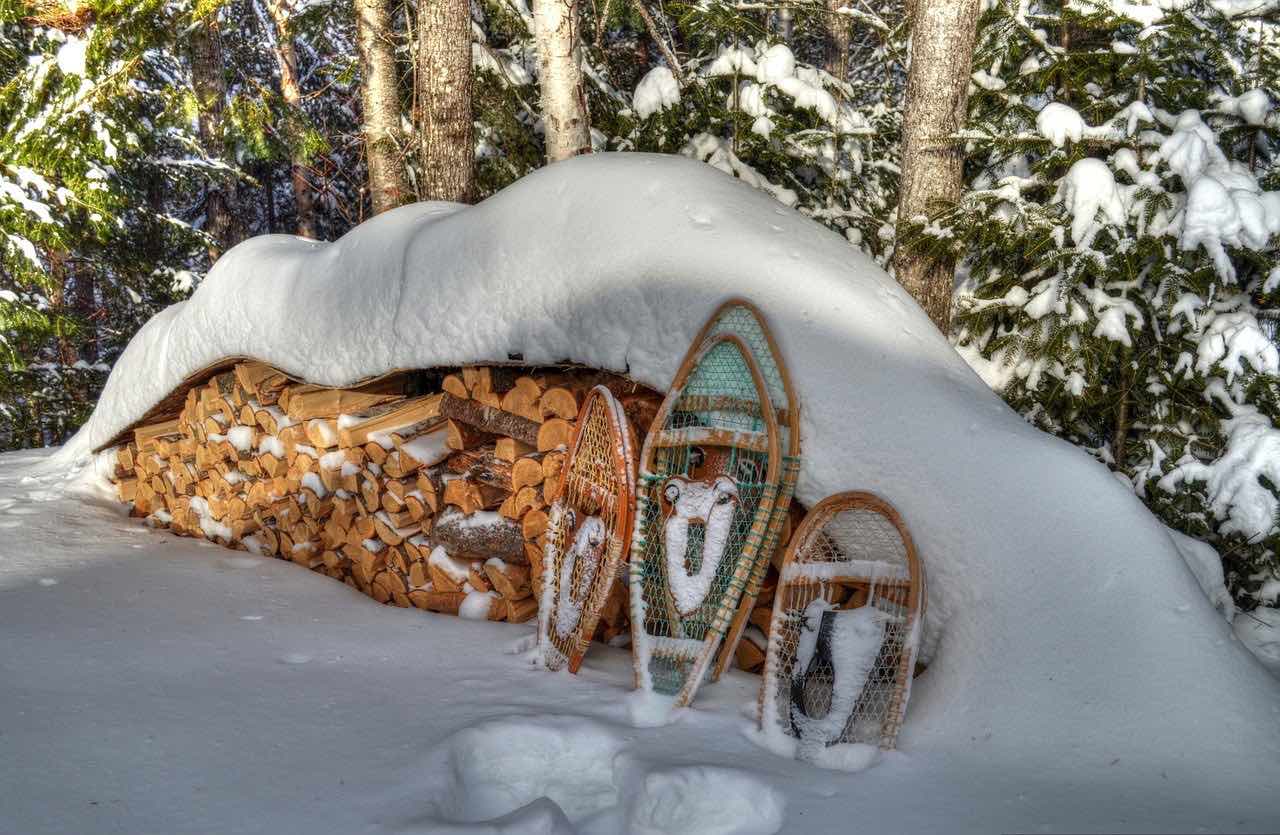
Snowshoes
Flat terrain snowshoes are the best choice for beginners sticking to tamer and flatter trails. Choose a pair that factors in your weight plus the weight of whatever you’ll carry on your back.
Waterproof Boots
The last thing you want while snowshoeing is sopping wet cotton socks and foot blisters. Select ankle-high waterproof boots that fit snugly, are flexible, and won’t weigh your feet down.
Three Layers of Clothing
Your base (first) layer should be a thin, moisture-wicking material to keep your skin dry. The mid-layer revolves around insulation, like a fleece jacket. Finish the cliche snowshoer look with a waterproof, windproof outer layer (polyester).
Here, a snowshoer can also consider involving the best socks that provide adequate protection from cold and frostbite, apart from providing added support to the calf muscles, while hiking or trekking in deep snow. You can now buy a pair of colorful softball socks online from a manufacturer like madsportsstuff.com that sells a variety of sports stockings & baseball stirrups.
Poles (With Snow Baskets)
If you’re clumsy, plan to cross icy streams, or may traverse rougher terrain, trekking poles will lend you a little balance. Don’t forget the snow baskets to prevent the ends of your poles from sinking too deep.
Other Necessary Gear
The classic snowshoeing journey will also call for:
- Winter gloves
- Thick socks
- Extra layers (in case your other gear becomes wet or too hot)
- A hat
If you’re not ready to dump $100+ on your new snowshoeing hobby just yet, equipment rentals are a cheaper option. Local recreational centres and ski lodges offer snowshoe and pole rentals for as low as $3/hour.
Where Can You Go Snowshoeing?
We all have favourite summer hiking trails along mountain ridges, through peaceful meadows, and beside bubbling streams. Yet, they might not be the best snowshoeing destinations with the risk for thin ice and avalanches.
The best places to find snowshoeing trails are:
- AllTrails
- Ski resorts
- Mild, flat-terrain hiking spots
- Best-of lists
- Local parks with blazed trails
- Your own property
- Searching “snowshoeing trails near me” on Google
It also helps to schedule your snowshoeing adventures around the weather. A slightly warm and sunny day following a powdery snowfall offers the smoothest and safest trek.
5 Snowshoeing Safety Tips
Snowshoeing is one of the most beginner-friendly and calmest winter sports. But it can also be unexpectedly dangerous, especially with the risks of hypothermia, frostbite, avalanches, and becoming stranded.
Here are five snowshoeing safety tips every newbie should know:
Pack Food and Water
An hour of snowshoeing could torch some 600-1000 calories, leaving you exhausted or even disoriented. Pack high-energy snacks like juicy fruit, trail mix, almonds, and energy bars, and don’t forget to bring water.
Bring a Backpack Filled With Supplies
There’s a delicate balance between overpacking and packing dangerously light. In case of emergency, pack:
- A headlamp
- A GPS or compass
- First-aid supplies
- Pocket knife, matches, a lighter
- A map of the trail
Pack extra clothing layers if you’re worried the temperatures might drop into sub-zero temperatures or you may encounter a sudden blizzard.
Stay on the Trail
Going “off the beaten path” always brings an exciting adventure, but it’s not the best idea for a novice snowshoer.
Stay on a trail that’s already tamped down, and don’t wander off. Ice can break, and frolicking off the path could trigger a deadly avalanche.
Bring a Phone or Satellite Device
The further you travel from society, the less Verizon, T-Mobile, or AT&T can cover you. Charge your phone to 100% before visiting the trailhead, and bring a satellite device along for more remote adventures.
Learn the Rules of the Road
Like the highway, there are also “rules of the road” when snowshoeing on cross-country skiing trails. Stay off to the edge of the trail to allow snowmobilers and cross-country skiers to pass. Also, offer the uphill snowshoer “right of way.”
How to Put Snowshoes On
While they might look confusing, snowshoes aren’t too challenging to strap on as a day-one beginner.
To put your snowshoes on securely:
- Lace up your regular, waterproof snow boots and sit down.
- Slip your feet into the center of each snowshoe.
- Tighten each of the 3-4 straps to fit snugly around your boots.
- Tuck the slack in so that you don’t trip over them.
Don’t forget to practice putting your new snowshoes on a few times before attempting your first snowy voyage. The last thing you want is to fiddle with your snowshoes with bulky gloves on and while on a high-traffic trail.
How to Snowshoe
It might be hard to believe, but snowshoeing isn’t just hiking in the snow with fancy gear on your feet. Before you drive two hours to the most rigorous and picturesque snowshoeing trail in the region, learn how to walk in them!
Here’s how your technique might change, depending on the terrain and what tools you bring along with you:
- On flat ground: Try to walk normally; don’t swing your feet out and around awkwardly as you get your bearings.
- With poles: Keep your poles (with snow baskets) angled backward at about a 45-degree angle.
- Uphill: Climb by putting your weight on your toes.
- Downhill: Bend your knees slightly and keep your weight over your shoes; fight the urge to lean back.
- Steep terrain: Side-step the trail, whether it’s up or downhill.
- On fresh snow: “Stamp” the untouched snow with your heel, rocking forward toward your toes as you step.
Like anything, snowshoeing takes time to get used to. That’s why it’s best to start with mild trails and get the hang of the basics before pushing the limits.
Conclusion
Now that you have a general idea of how to start snowshoeing, you’re ready to rent a pair of shoes (and poles), drive down to your local trails, and try a simple snowy journey.
Keep your journey short, and don’t forget to pack your bag with the necessities. Add mileage or rougher terrain with each adventure until you’re a snowshoeing master!
Angus Flynn is the business manager for Chatham on Main. With over five years of experience in the multifamily housing industry, he is one of the most dedicated managers in his field. He loves to help others and takes great pride in working in a community that so many love to call home.